In this article, you will find a comprehensive overview of creating automations in Boldem and a guide on working with individual controls.
Before you begin
Before you begin creating an automation, make sure your account meets the following minimum parameters:
- You use the Profi plan or higher, which allows you to create unlimited automations. For information about the tariff, see Billing after logging into your account.
- You have a verified sending domain. For details about the domain, see Settings/Domains.
You will also need to:
- Define the objective you want to achieve with the automation and outline the scenario you want it to follow.
- Create a template or templates. Any template you use in automation must be created as transactional.
- Mailing list – a necessary element that needs to be created, whether you are gathering new recipients or communicating with existing ones. It is wise to create and label your mailing list to match your specific scenario. In Boldem, you have the flexibility to split, merge, organize, or segment lists according to your preferences.
- If you want to use automation to evaluate user behavior on your website, e.g., in an e-shop, you must first integrate it with Boldem. Click here to see the options for integrating Boldem with other platforms.
Creating automation in Boldem
- Log into your Boldem account and navigate to Automations.
- Click Create new automation.
- Enter the Automation name and description. Both entries are for your reference and can be changed later on the Settings tab in the automation details.
- Confirm your entry by clicking Create automation.
The automation diagram opens, providing an overview of the blocks available for use in the automation on the left and a canvas where you can insert these blocks on the right. To insert a block, you can simply drag and drop it onto the canvas.
Remember that the automation does not save automatically. Therefore, we strongly recommend that you save your work continuously by clicking Done/Save. You can edit the automation as much as needed, and it will only activate when you click the Run button.
Automation blocks
The individual blocks have different functions and are categorized into four groups:
Triggers
Triggers determine when or under what conditions the automation activates. Most triggers offer detailed settings such as specifying the mailing list that triggers the automation, applying segmentation, or other conditions.
- Now – the automation starts immediately after you save and run it.
- Repeat – the automation will run repeatedly according to the specified parameters, whether it’s every X days, weeks, or months at the designated time.
- Anniversary event – automation is triggered when a specific date occurs, either based on the recipient’s input or the internal calendar (holidays and anniversaries for the Czech Republic and Slovakia).
- Website event – if you have your website or e-shop integrated with Boldem, the automation will be triggered based on factors such as order status or other events that you have programmed on your website.
- Email event – automation is triggered by an action the recipient takes in a bulk or transactional email within a particular campaign. This action could involve opening an email, clicking a link, or even sending an email.
- SMS event – automation is triggered by dispatching a bulk or transactional SMS message within a specific campaign.
- Subscribes to a list – automation starts after the recipient subscribes to the selected mailing list. The login can be done either via a subscription form, API or via integration, i.e. via an application integrated with Boldem.
- From integration – an advanced way to trigger automation that runs in conjunction with the integration or application integrated with Boldem. This might involve using an integration through platforms like Make (formerly Integromat).
Operators
Logical operators that allow you to branch or route automation in different ways.
- Condition – allows you to split the automation based on the positive or negative evaluation of the condition. This condition can be set based on the recipient’s information or their activity in campaigns, transactional emails, or on the web.
- Wait – pauses the automation until a specific date or time has passed.
- Start another automation – use the block to start another automation.
- Custom – an advanced block that allows you to insert custom code in the Scriban scripting language which then runs the block.
- Branching out – this block allows you to branch out the course of the automation without any additional conditions.
Actions
You use actions to specify what activity you want to perform within the course of the automation.
- Send email – as part of the automation, an email is sent with the specific template you selected.
- Send SMS – as part of the automation, an SMS message is sent.
- Edit mailing list – during automation, the recipient will be added to the mailing list according to the specified rule.
- Edit recipient – allows you to modify the recipient information you have set up for each recipient. This can include their birthday date, a note about whether the recipient has used a promo code, and more.
- Unsubscribe – during automation, recipients can be unsubscribed, meaning they are removed from a specific mailing list or from all lists. Additionally, you have the option to set a time limit for unsubscription.
- Subscribe – you can subscribe a recipient during automation, i.e. add them to a specific mailing list.
- Webhook – an advanced action that allows you to send selected recipient data (email address, name, phone, etc.) from an automation to a URL address in your system via the GET or POST methods.
Working with automation blocks
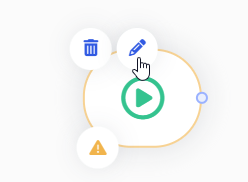
When creating an automation, drag the blocks you want to use onto the canvas. You must also set up each block after placement. Until you configure the block correctly, an exclamation mark icon will be displayed next to it and the automation cannot be started.

To set up a block, double-click on the block or click on the pencil icon next to it.
Once you click it, a menu will appear on the left side of the editor, allowing you to configure your desired settings. You can save these settings by clicking Save. When a block is properly saved, it will no longer display an exclamation point icon:

You can arrange the blocks on the canvas in any way you like, whether it is from left to right, top to bottom, etc. However, it is crucial to ensure that the blocks are connected in the desired sequence once the setup is finished.
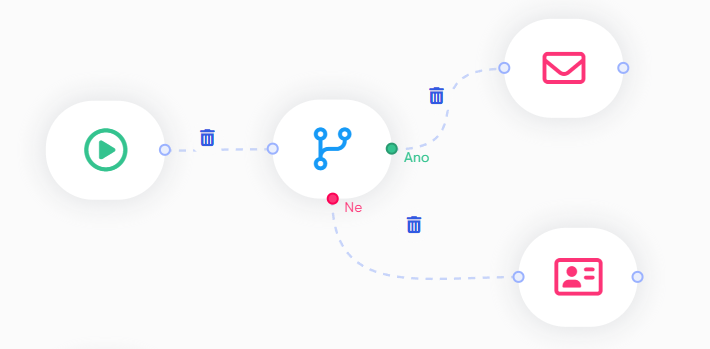
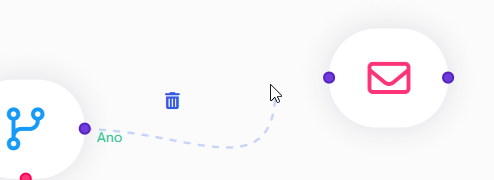
To connect blocks, click on the dot at the edge of a block and drag the mouse to one of the highlighted dots at the edge of another block. You can disconnect them at any time by clicking on the bin icon.
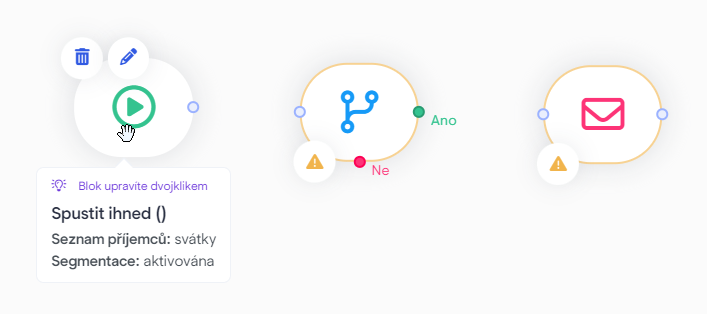
For certain blocks, you can get a brief preview of their properties by clicking on them:
Testing automation
Before starting any automation, it is crucial to conduct thorough testing. This is highly recommended, even for simpler automations as it is easy to make mistakes, and there is nothing worse than executing an irreversible action on a large group of recipients.
View details on testing automations here.
Display of recipients affected by automation
As part of testing, you can also check which recipients will be affected by the automation. This option is exclusively accessible for specific blocks. To examine the mailing list for which the automation will be applied, simply click Options and select Overview of recipients.
Starting automation
Once you have tested the automation and are satisfied with how it works, run it at any time by clicking Start. An overview of the automation will be displayed.
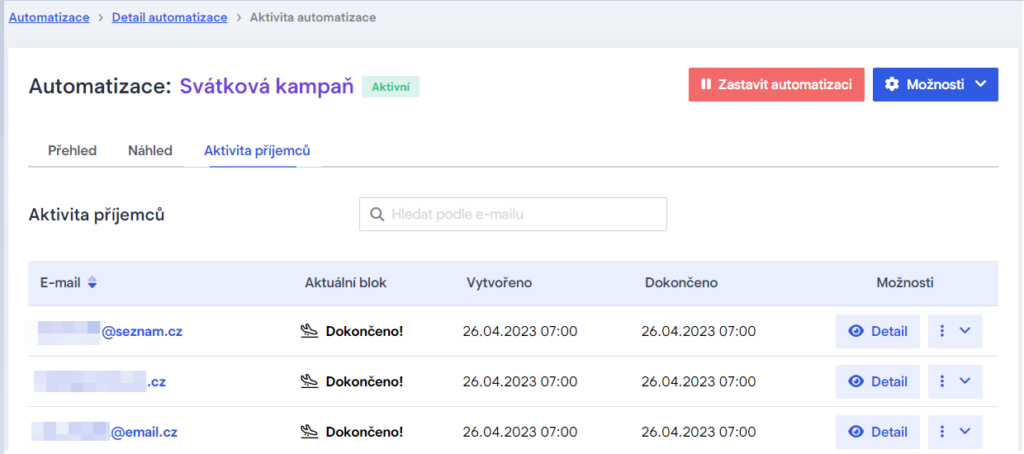
In addition, apart from just statistics, you can also monitor the progress of the automation in the Recipients’ activity tab. Here, you will discover information about individual recipients including their current step or status within the automation.
Modifying active automation
The parameters of an active automation cannot be modified. You can only monitor its progress by clicking individual tabs in the automation details:
- Dashboard – contains statistics on recipients
- Preview – overview of individual blocks
- Recipients’ activity – a list of individual recipients who are part of the automation. By clicking Detail next to a recipient, the complete path they have taken through each block, as well as their current status, is displayed. You can also remove a recipient from automation by clicking Delete recipients in the three dots menu.
To change the automation properties, click Stop automation in the automation overview and select Options/Edit automation. After you finish editing, be sure to properly test the automation again and restart it.
Examples of automations
You can find inspiration for automation scenarios below: